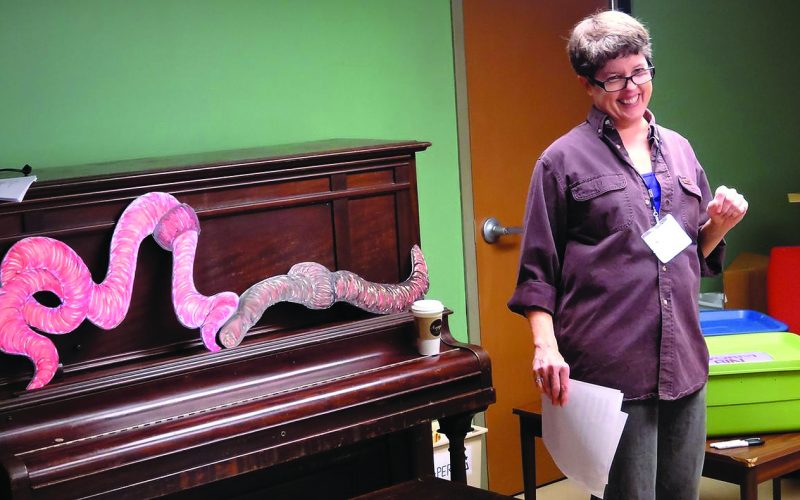
 People Making Ripples: Quinn Montana, author of Worship Your Food, loves red wigglers. She recently held an inter-generational workshop, pictured here, as part of the Unitarian Universalist Fellowship of Fayetteville’s Religious Education program. She has also taught workshops and classes in Fayetteville and at Heifer Ranch as Director of the Cottage Industry Program.
By Amanda Bancroft
I recently found three worms under the welcome mat near our front door, and held them in my hand, for the first time realizing what they were doing there and how they perceive the world. Worms are fascinating creatures and an essential part of an organic garden or compost pile. Thanks to Fayetteville resident Quinn Montana’s vermiculture workshop, I learned how to start my own worm bin and avoid sending kitchen scraps to the landfill!
Vermiculture, or “vermicompost,” is like regular composting except that it includes using worms to break down compostable materials like kitchen scraps and yard clippings. According to the City of Fayetteville Solid Waste and Recycling Division, “The Environmental Protection Agency estimates that in 2010 alone, 34 million tons of food waste was generated, and only 3 percent of this was diverted from landfills or incineration. Backyard composting is an important way individuals can increase this diversion rate and reduce greenhouse gas emissions from landfills while creating a valuable soil amendment for their yard and garden.”
It’s a win-win deal for gardeners and the environment, so how do you begin your own worm bin? First, you’ll need red wigglers (Eisenia foetida), which are the most adapted to thriving in a compost pile. These aren’t the earthworms you find in your backyard in the city. As Quinn says, “There are city worms and there are country worms,” and you need the right kind! You can order them online or partner with a friend who has a mature vermiculture bin and needs to get rid of some of their worms.
Before the worms arrive, you need a nice-sized plastic bin (usually used for storage) with a lid. There are a couple of ways to separate the finished compost from the decomposing material, and if you choose to physically separate the two, you’ll need two bins. (Check out Ripples’ vermiculture blog post for a how-to video that uses two bins.) An easy method is to use one bin and fill it with ripped up pieces of egg carton or brown paper bag. Once you have a nice amount of bedding in the bottom of your bin, you need to wet it down so that it feels spongy but not soaking wet — this ensures the worms have enough moisture and don’t dry out.
Next, you’re ready to add the worms! If they try to crawl out of your bin, they may not like their new home because it is too wet or too dry, so adjust accordingly. Add any kitchen scraps to the top of the bin, but leave out animal products like meat and dairy. The worms don’t eat animal products, only rotting vegetation. After they eat their fill and produce castings (worm poop) it should look like rich black soil, ready for your garden!
Ripples is a blog connecting people to resources on sustainable living while chronicling their off-grid journey and supporting the work of non-profit organizations. Read more on this topic and others at www.RipplesBlog.org